
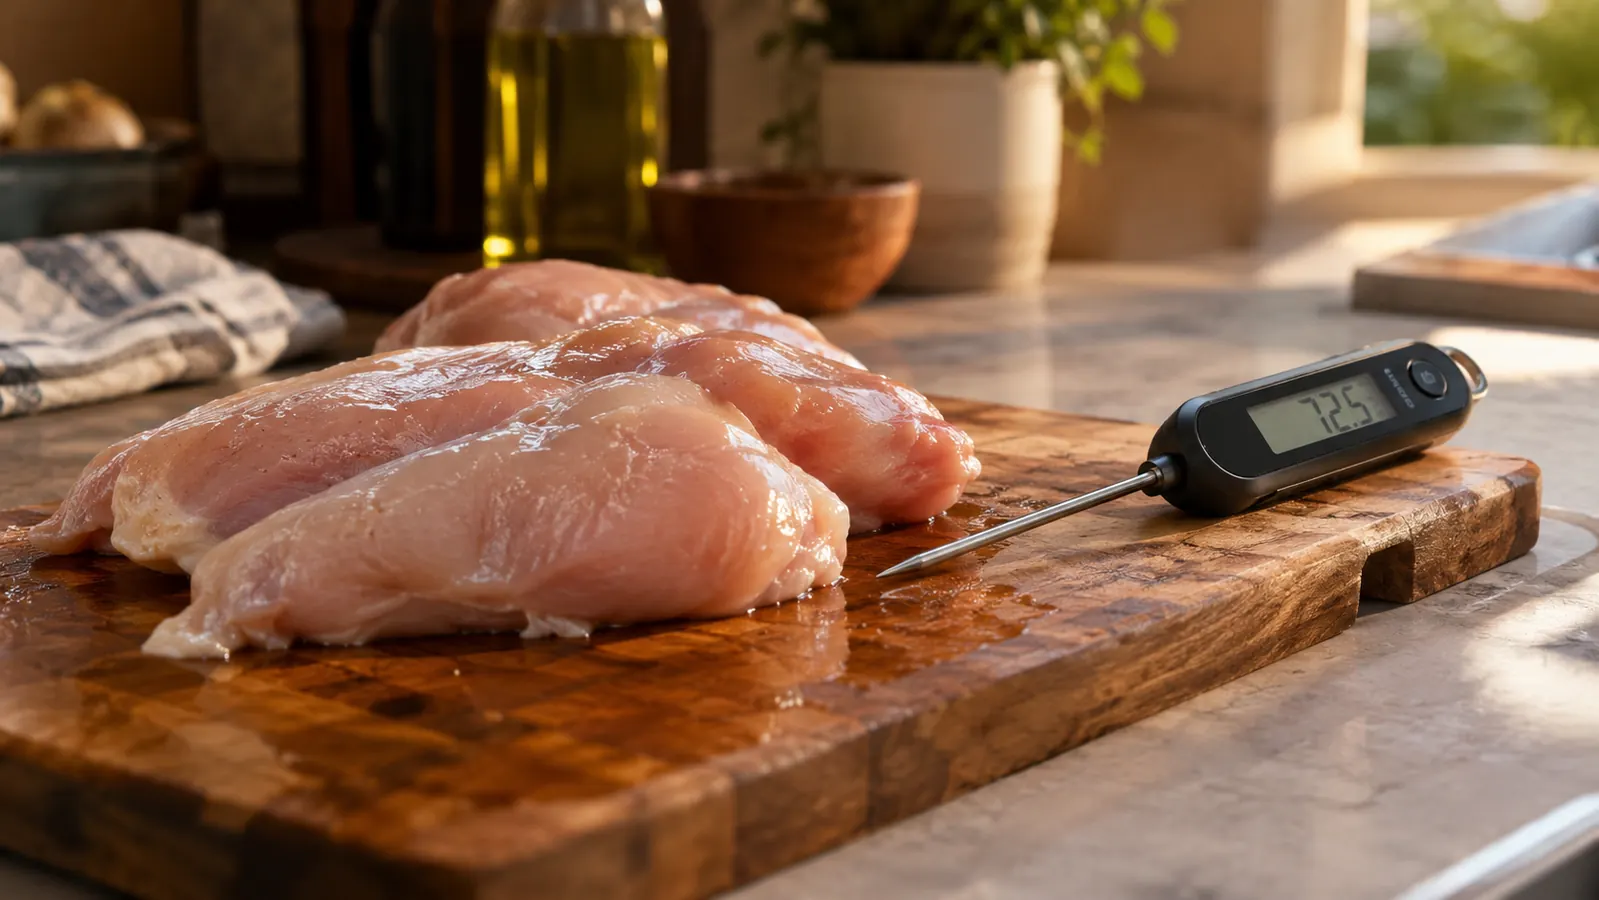
I've ruined more chicken breasts than I'd like to admit. Dry, rubbery, grey. The kind that makes you reach for the barbecue sauce to hide the fact you overcooked it again. I spent years as a line cook in a restaurant kitchen, where we had thermometers on everything and a timer for the heat. But at home, with a standard electric range and three hungry people waiting, I kept guessing. And guessing is how you end up with dry chicken.
Then I got the TempPro TempSwift thermometer, and it changed how I cook poultry entirely. Not because it does anything magical, but because it gives me one number that takes the guesswork out. The brand, TempPro, makes a simple instant-read thermometer that reads in about a second, and it's become the tool I reach for every single time I cook chicken now.
Get the TempPro TempSwift and never serve dry chicken again
The TempPro TempSwift reads in about a second, so you can check your chicken without losing the heat. See today's price on Amazon.
Amazon Check Today's Price on Amazon →Step 1: Bring the chicken out of the fridge 20 minutes before you cook
I used to pull chicken straight from the fridge and throw it in a hot pan. That's a mistake. A cold breast hits the pan, the outside sears and the center stays cold, so by the time the middle comes up to temperature the outside is already drying out. Taking the chill off makes the cook more even, and that's the first step to moist meat. I've been cooking for twenty-five years, and this simple habit is the one I still see home cooks skip. When I worked the line, we never put cold meat in a hot pan. We let it sit on the counter while we prepped the rest of the dish. The same logic works at home, even if you're just making dinner for three.
Take the chicken out of the fridge, leave it on the counter in its packaging or on a plate, and give it about twenty minutes. This isn't a food safety issue as long as you don't leave it out for hours. Twenty minutes won't hurt. It just takes the edge off the cold. If you're in a hurry, you can skip it, but you'll have to be more careful with the thermometer. On a busy Tuesday night, I'll often pull the chicken out while I'm chopping vegetables or getting the pan ready. By the time the pan is hot, the chicken is closer to room temperature, and that makes a real difference in how evenly it cooks.
While the chicken sits, I set up my station. The TempPro thermometer goes on the counter next to the stove so I can grab it without hunting for it. I also get the pan preheating. The TempPro is small enough that it doesn't take up much space, which matters in my kitchen. We don't have a lot of counter, so every tool has to earn its spot. This one does, because it's the difference between guessing and knowing. I've had other thermometers that sat in a drawer for months. The TempPro is out where I can see it, and that's why I actually use it.
Step 2: Know your target temperature and your carryover
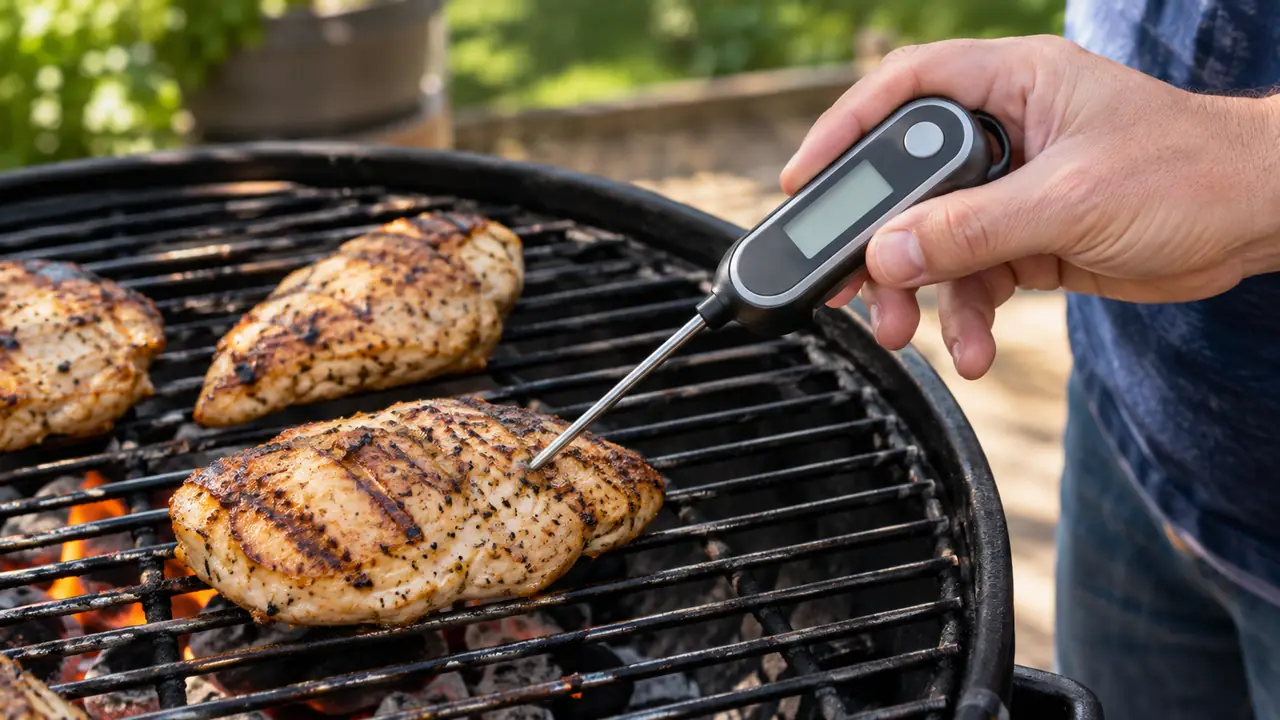
The USDA says chicken is safe at 165°F, but that number includes a margin for error. If you pull the breast at 160°F and let it rest, carryover cooking will bring it up to 165°F anyway. The problem is that most home cooks aim for 165°F at the moment they check, which means they actually hit 170°F or more by the time they eat. That extra heat is what turns a good breast into a dry one. The same thing happens with thighs and legs, though they're a bit more forgiving. Once I learned about carryover, I stopped aiming for 165°F and started pulling earlier.
So I set my target at 160°F for chicken breasts and thighs. The TempPro reads in about a second, so I can check often without losing heat. When the thickest part hits 160°F, I pull it off the heat. The carryover does the rest. This one number changed my chicken more than anything else. It's the difference between a breast that's just done and one that's overcooked. I also use the TempPro to check the temperature in a couple of spots, because the heat can be uneven across a single piece. The instant read makes that easy.
If you're cooking dark meat, you can go a little higher, up to 175°F, because thighs and legs are more forgiving and taste better with more collagen broken down. But for breasts, 160°F is the sweet spot. Keep that number in your head and you'll stop overcooking. I even have it written on a sticky note on my range hood. If I'm cooking a whole chicken, I aim for 165°F in the thigh, but for pieces, 160°F works for breasts. The point is to know your target before you start, so you're not scrambling to figure it out while the chicken is on the heat.
Step 3: Use the thermometer early and often, at the thickest part
I check my chicken three times during cooking: once early to see where I am, once around halfway, and once at the end. The TempPro makes this painless because it's instant. I don't have to wait for a needle to settle or read a dial. I insert it, get a number, and I'm back to the pan. The probe is thin enough that it doesn't leave a big hole, and it reads fast enough that I don't lose the heat in the pan. The display is backlit, so I can read it even when the kitchen is dark and I'm cooking after a long day.
Always insert the probe into the thickest part of the meat, avoiding bone and fat. For a breast, that's usually the center. If you hit bone, you'll get a false reading. If you hit fat, you'll get a low number that makes you cook it longer than needed. I've made that mistake more times than I care to count, so now I'm careful about where I stick it. I also check in two places if the piece is large or oddly shaped. A single reading can fool you, especially if the chicken is thicker on one end.
The key is to check early. Most people only check at the end, and by then it's too late. If I check at five minutes and the breast is already at 140°F, I know I'm moving faster than expected and I can pull it sooner. That early check is what saves the chicken. It also tells me if I need to flip it or move it to a cooler part of the pan. On my electric range, the heat isn't perfectly even, so an early check tells me whether I need to adjust the burner. Without a thermometer, I'd be guessing.
Step 4: Pull it five degrees early and let it rest
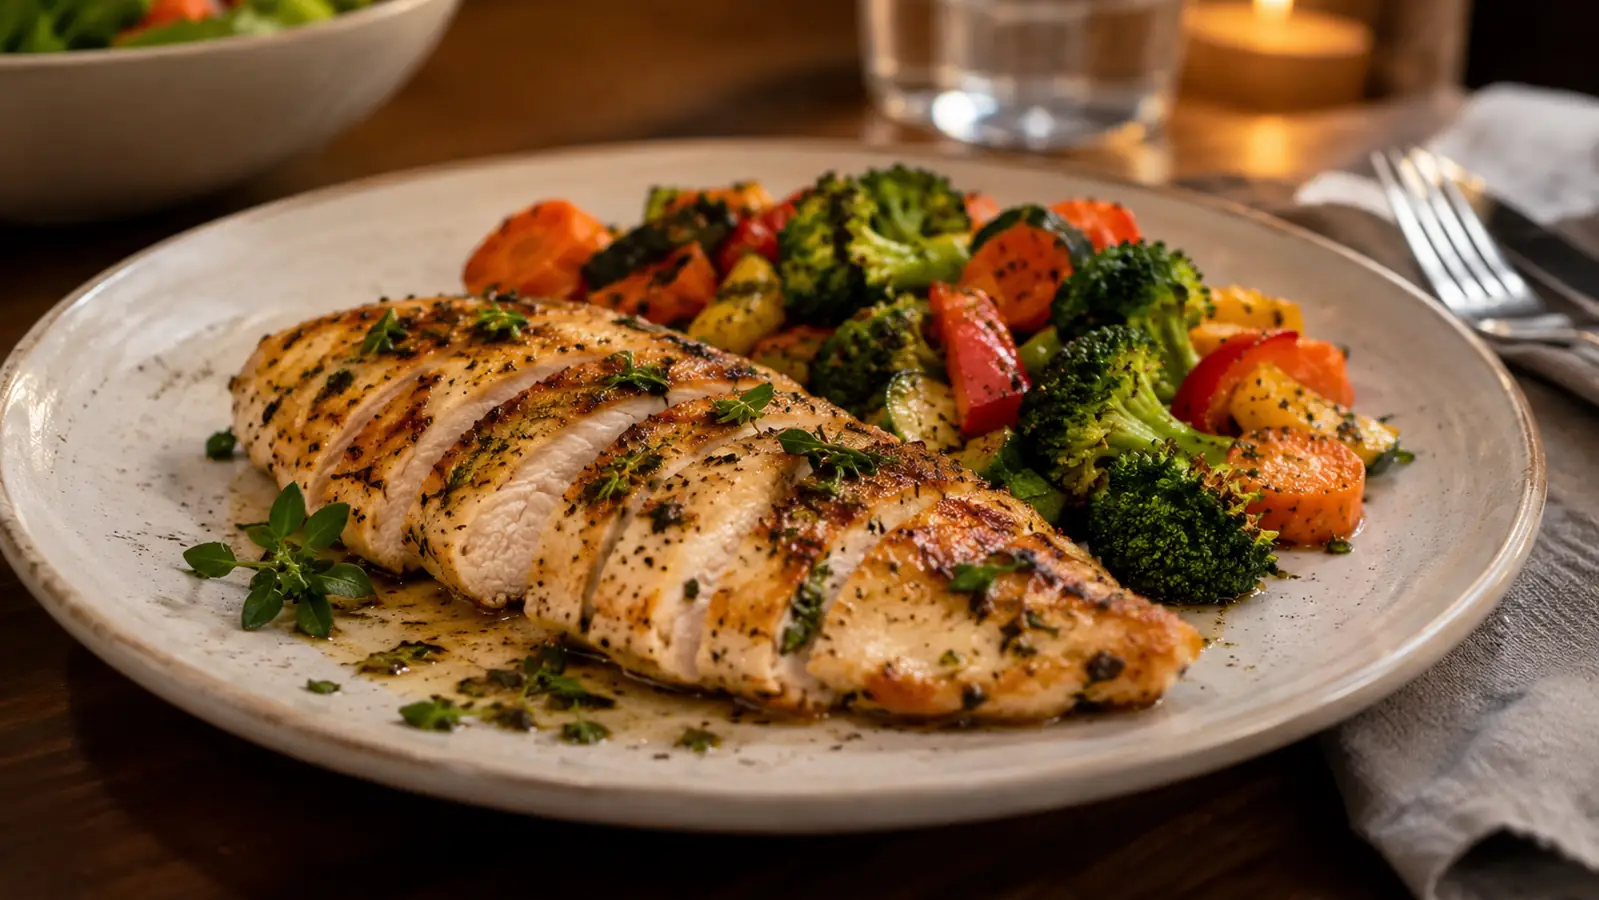
Once the TempPro reads 160°F in the thickest part, I pull the chicken off the heat and move it to a plate. I don't cut into it right away. Resting lets the juices redistribute. If you slice immediately, you lose all that moisture onto the cutting board. I've watched people cut into a perfect breast and watch the juices run out, and it's heartbreaking. A five-minute rest is the difference between a juicy chicken and a dry one, and it costs you nothing but a little patience.
I let the chicken rest for at least five minutes, usually while I finish the sides. During that time, the internal temperature climbs those last five degrees to 165°F. That's the carryover I mentioned. The resting period is part of the cooking, and it's the part most home cooks skip. They're in a hurry to get dinner on the table, so they cut into the meat right away and wonder why it's dry. I've been there too. Now I set a timer on my phone for five minutes and let the chicken rest.
If you're cooking multiple pieces, rest them on a warm plate and cover loosely with foil. Don't wrap tight or you'll get steamed skin. Five minutes is enough for a breast. A whole bird needs longer, maybe ten or fifteen minutes, but for weeknight chicken, five minutes does the job. While it rests, I make the pan sauce or finish the vegetables. The TempPro stays on the counter, so I can give the chicken a quick check after the rest to make sure it's holding the temperature.
Step 5: Clean the thermometer and store it where you'll find it
After dinner, I rinse the TempPro probe under warm water with a little soap. The thermometer is waterproof, so I can wash the whole thing quickly. I dry it with a towel and put it back in the drawer right next to the stove. That's where I reach for it every time. It takes thirty seconds to clean, and that's the kind of maintenance I actually stick with. Some thermometers are finicky about cleaning, but this one is straightforward, which means I don't avoid using it.
You'd be surprised how many people buy a good thermometer and then bury it in a drawer. If it's not visible, you won't use it. I keep mine in a caddy on the counter, or hanging on a hook if there's room. The point is to make it part of your routine. The TempPro is small, so it's easy to keep in sight without taking up much space. I've got a small caddy on the counter that holds the thermometer, a spatula, and a pair of tongs. It's the first thing I reach for when I'm cooking.
The TempPro has a magnetic back, so I can stick it on the side of the range hood or the fridge. That way it's always in sight. It's a small thing, but it means I never skip the check. And skipping the check is how chicken dries out. If you want moist chicken every time, you have to make the thermometer part of your kitchen, not just something you dig out for holidays. I use mine at least three times a week, and it's still going strong after a year of steady use.
What Else Helps
A thermometer is the biggest upgrade, but a couple of other tools make a difference. A good digital scale helps you portion chicken evenly, so all the pieces cook at the same rate. A heavy-bottomed stainless or cast iron pan holds heat better than a thin nonstick pan, so the surface stays hot when you add the chicken. Both of those help you cook more evenly, which is what a thermometer helps you finish. If you're serious about not drying out chicken, these three tools together are the answer.
If you cook chicken often, consider a leave-in probe thermometer that goes in the oven. The TempPro is an instant-read, which is great for checking, but a leave-in probe can track the temp without you opening the door. I have both, but if you only buy one, the instant-read is the one I'd pick. It covers more situations, from grilling to pan-searing to checking a roast. The TempPro also works for other meats, like pork and beef, so it's not a one-trick tool. I use it for steaks, pork chops, even a roast chicken on Sundays.
The TempPro TempSwift pays for itself the first time you don't serve dry chicken.
Stop guessing, start checking
The TempPro TempSwift reads in about a second and takes the guesswork out of chicken. Grab one on Amazon today.
Amazon Check Today's Price on Amazon →